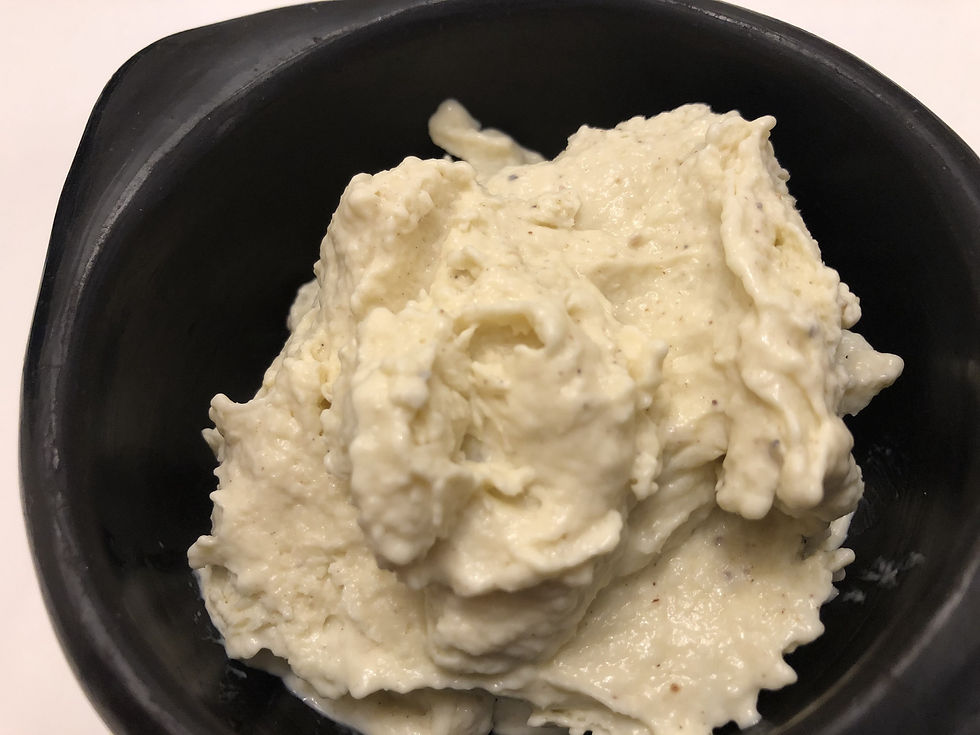
Grenada – nutmeg ice cream
- Dany P.H.
- Nov 22, 2020
- 4 min read
Grenada is a country in the Caribbean Sea and is made up of three islands. It was originally colonized by the French after valiant efforts to keep the Europeans off their shores, and eventually passed to British rule, before finally becoming an independent state in 1974 and joining the Commonwealth. While researching food for this week I came across a dish called doubles which made my mouth absolutely water, but after reading a bit about it I discovered that it originated in Trinidad and Tobago and will be saving it for them, luckily Grenada is in no short supply of mouth watering dishes such as Oli down their national dish, Lambi, callaloo soup, sweet potato pudding and nutmeg ice cream. Now, I was immediately drawn to nutmeg ice cream, not least because cinnamon ice cream is one of my favourites and nutmeg seemed like a great way to jazz it up, but because Grenada is one of the world’s major exporters of nutmeg even after losing a large proportion of their nutmeg trees to a hurricane. Nutmeg is so intrinsic to Grenada that the fruit features on their flag.
So I decided to do this nutmeg ice cream but I had originally planned to park it for a couple of weeks as I’m trying to cut down on sugar and to be honest as I don’t have an ice-cream churner and I couldn’t be asked with the hassle of churning it by hand. Well it so happens that my Monday German class was cancelled and with the pressure to study and do some homework off I found myself with an empty Sunday, and nothing seemed better to spice it up than some nutmeg ice-cream. And let me tell you – boy was it worth the hand churching and boy will I be making more ice cream from now one.
The base of most ice creams is an Crème Anglaise if you’re feeling fancy or a custard if you’re not… seeing as they’re both the same thing and the French just like to call it an English sauce I’m going to stick with custard. You make a thick custard using milk, sugar, eggs and cream, and then cool it over a bowl of ice – if you’re lucky enough to have an ice cream churner then you stick it in there until it’s cold and then pop it in the freezer to set. If you’re unlucky like me, after cooling the custard base down you put it into a deep baking tray (I used a loaf tin) and into the freezer. Then you pull it out every 25-30 minutes give it a vigorous stir and pop it back into the freezer. You repeat until it’s set. The reason for doing this is that it prevents ice crystals from forming and your ice cream will stay creamy rather than becoming an icy block or having little bits of ice in it. It’s a perfect activity for a lazy Sunday at home.
I used this recipe here which I followed exactly, except that I cooked my custard over a water bath as I didn’t trust myself not to burn it. This will take a little longer. If you don’t have a food thermometer– just keep going until the custard is quite thick and coats the back of a wooden spoon.
Serves 4
Ingredients
1 ½ cups whole milk
1 ½ cups heavy cream
3 large eggs, at room temperature
¾ cup granulated sugar
1 tbsp. grated fresh nutmeg
Dash of salt
1 ½ tsp. pure vanilla extract
Method
In a large saucepan, heat the milk and cream. When it begins to froth at the top, just before it boils take it off the heat.
While the milk is on the stove, in a medium bowl, whisk the remaining ingredients. Make sure that all the egg while is whisked into the yolk properly or you will inevitably end up with lumpy ice cream.
Whisk half a cup of the heated milk and cream into the egg mixture, and then pour that into the remainder of the milk mixture in the saucepan. (If you want to cook your custard over a water bath, pour the rest of the milk mixture into the egg mix – and then place the bowl over a saucepan with simmering water)
Cook over medium heat, stirring constantly, until it begins to thicken and reaches 175 degrees F or around 76C.
As soon as the custard has reached the right point transfer it into a metal bowl and place it over another bowl filled with ice. Whisk until it is cold.
Then either pour into an ice cream maker/churner and finish according to manufacturer’s instructions, or if you don’t have an ice cream maker, pour the mixture into a freezer-safe dish and freeze, stirring vigorously by hand or with an electric mixer every 30 minutes until it is completely frozen. This will take 2-4 hours depending on how deep your dish is.
The advantage of using a shallow tray is that it will freeze quicker, however, the ice crystals will also form quicker. If you use a deeper dish it will take longer to freeze but will be a little more forgiving if you forget to stir it at the 30 minute mark.


Comments